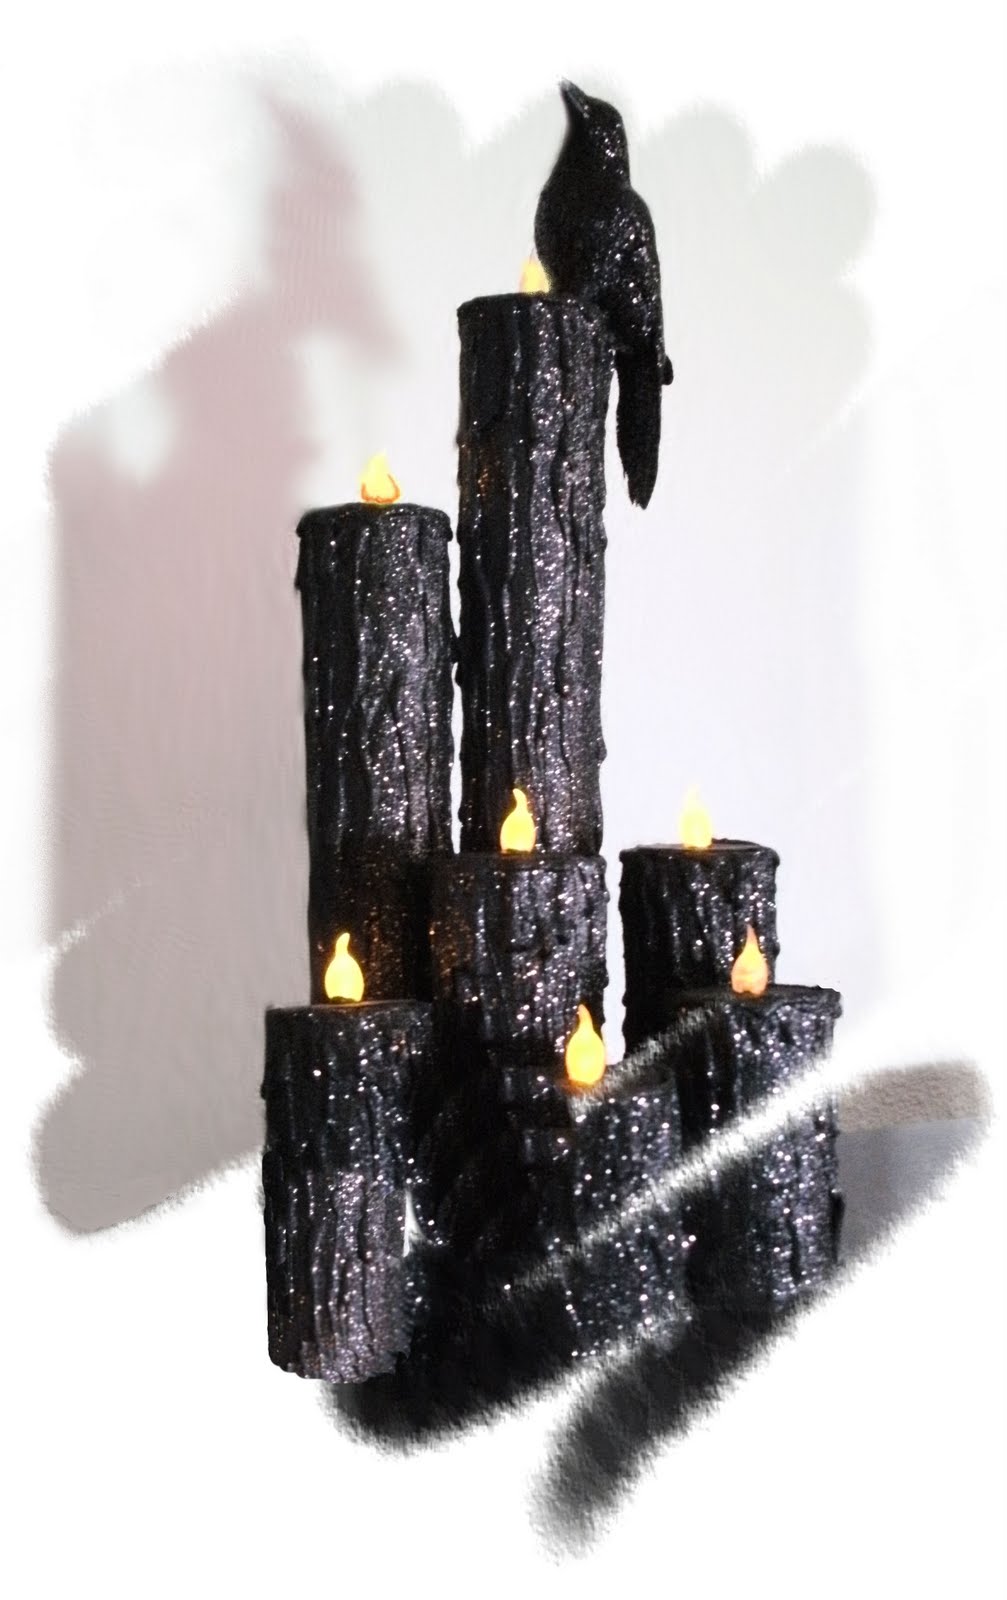
This project is all about reusing "throw- a -way" items and re purposing them into something useful. Here I used the cardboard paper towel roll. Something one would normally just throw away can easily be re-purposed into a creative, inexpensive, easy, Halloween decoration or prop. I remembered a how-to I came across in which one created Halloween candles using PVC pipe. I loved the idea and had every intention of doing just that until I remembered I didn't have any PVC, although, I did have a paper towel roll! I really hadn't any idea if it would work just thought I would try anyway. It replaced the PVC perfectly and for the candle flame I used a tea light!
For this project you will need:
Paper towel rolls
Toilet paper rolls
Scissors
Glue gun
Glue sticks
Masking tape
Plastic tea lights
Glass pebbles
Craft paints
Paint brush


Because the candles are made from a light weight paper towel roll the top of the candle will have most of it's weight to carry from the glue, therefore, making it top heavy, which can make it tip over easily. I glued glass pebbles that I had left over from another project to the bottom of my candles to weight it down. You can use anything that will fit into the bottom end of your roll, small rock, bolt, etc, anything that is safe and will give it some weight. Here is how I used the glass pebbles. I lay the glass pebble on the sticky side of my masking tape and then tape it to the bottom of my roll. You can also let the glue slip down onto wax paper the peel the paper off leaving the flatted glue, this will help balance the candle as well.
For the top I take the masking tape and "sticky side" down I place the tealight on it then push the tealight and tape down into the top of the roll, I do this three or four times until the top invert is covered. This will give support for the tealight to sit down into the top of the candle.


It should look like this once you are finished with the tape. The tealight should fit easily down into the support and be flush with the top of the roll. Sorry for the blurry pic.

Now that you have the top and bottom done remove the tealight. You are ready to make the dripping wax part of the candle. To do this take your heated glue gun and place it up at the top ridge of the roll then squeeze the the trigger and let the glue slip down the side of the roll. Do this over and over letting the glue act like the dripping wax. Here you can be as creative as you wish, if you like a really drippy candle then add a lot of glue drips, if you just want a few drips as if the candle has not been lit long then only drip a few. It is completely up to you. Once you are done with this part you are ready to paint it.


Inexpensive acrylic craft paint is my choice for this project, however, you can also use spray paint. I find brush on less messy. I give it a healthy coating of paint then set it out to dry.

Once the black is dry, I take white paint and a soft brush if you do not have a soft paint brush handy, and you don't feel like running to the nearest paint store you can use a large make up brush for applying this part. The brush just needs to be soft. Take your white paint and lightly brush it against the candle this will highlight the raised parts of the candle giving a two tone effect and add definition to the drips.

Now you can paint the top of your tealight to match the candle color or leave it white it is up to you the creator.
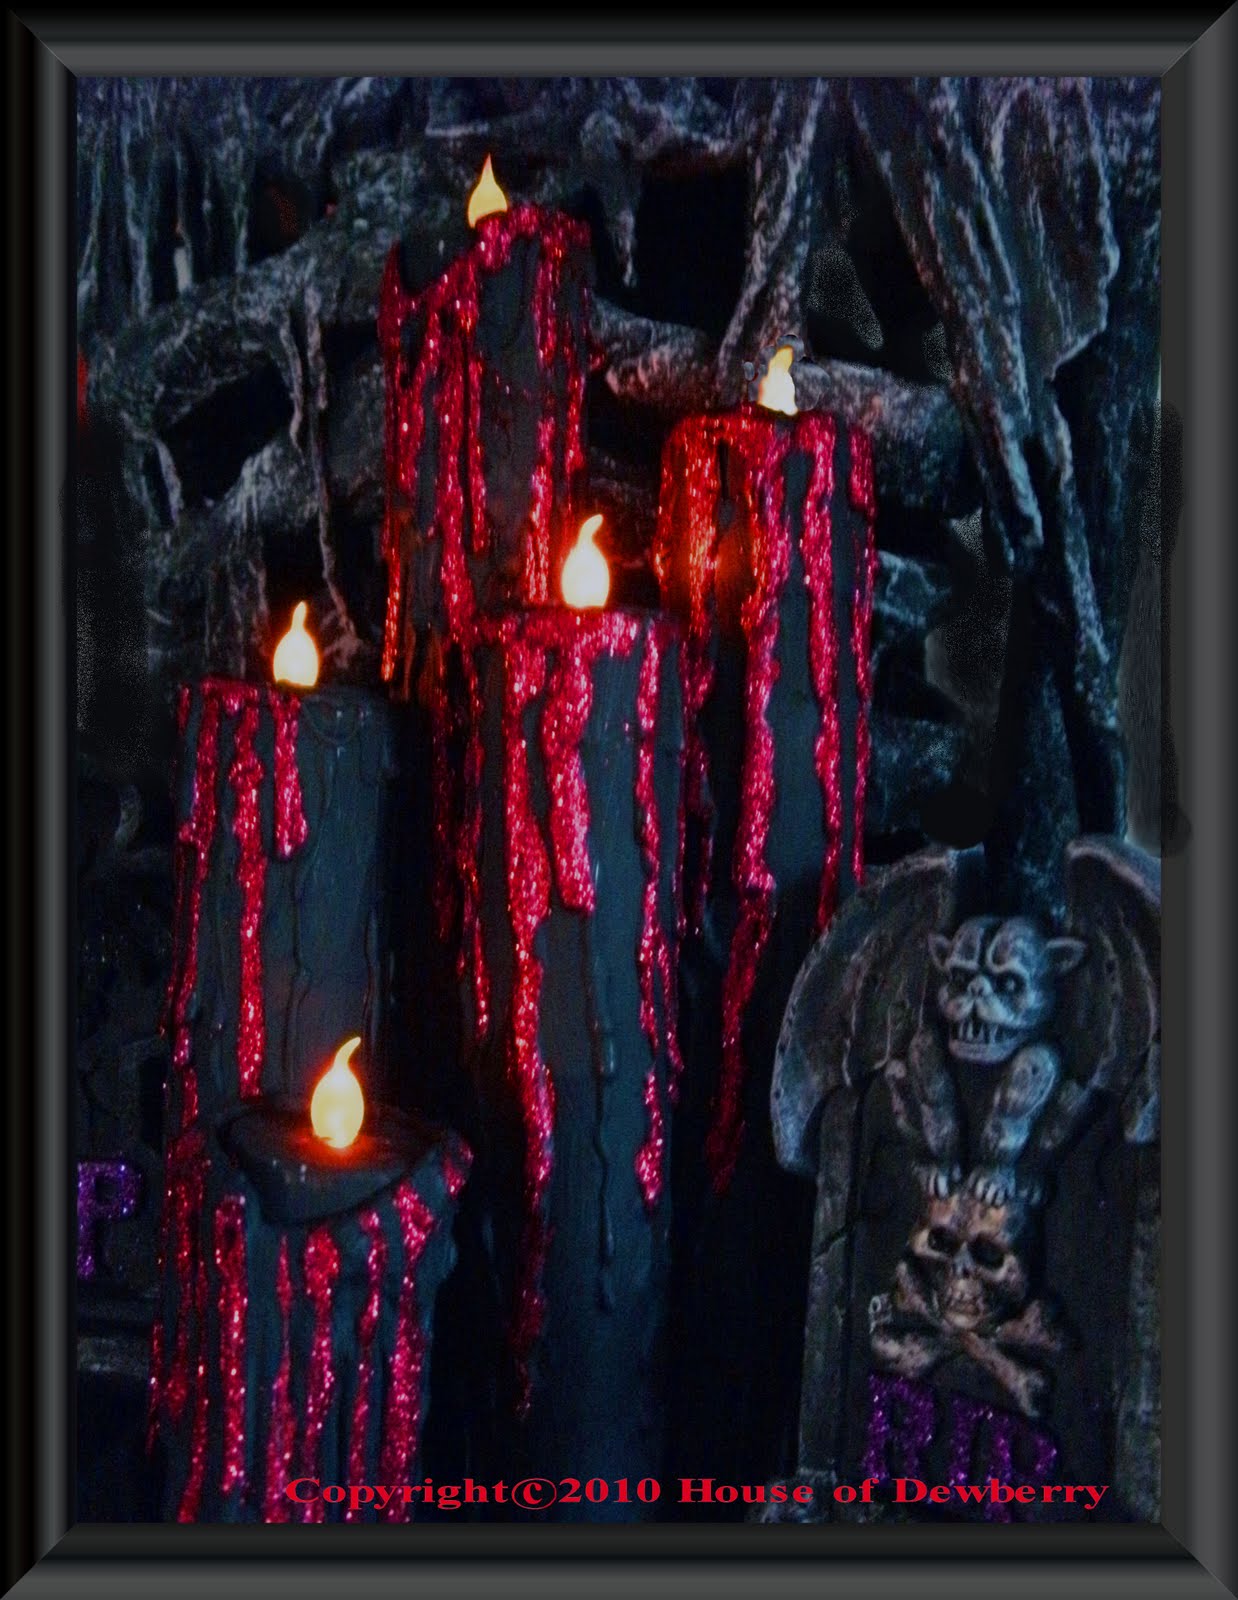
The decorating possibility using these home made paper candles are endless they can be used anywhere.Here is a picture of a table display I used some of my candles in.
This is a great project for the whole family. It is easy enough for younger children as long a they have supervision. For everyone else it can
easily be expanded on when imagination is applied the possibilities are endless!
Enjoy!


 The bottom three pics are the pumpkins in paper form. The above pic shows what they look like once the clay has been applied.